How to use Just My Socks on an iPhone [shadowsocks]
Sat Mar 18 2023
How to use Just My Socks on an iPhone [shadowsocks]
Jamjams - The Official Just My Socks iPhone App
Important Update (March 18 2023): This guide has been superseded by the official Jamjams application, which provides seamless configuration and superior connection stability.
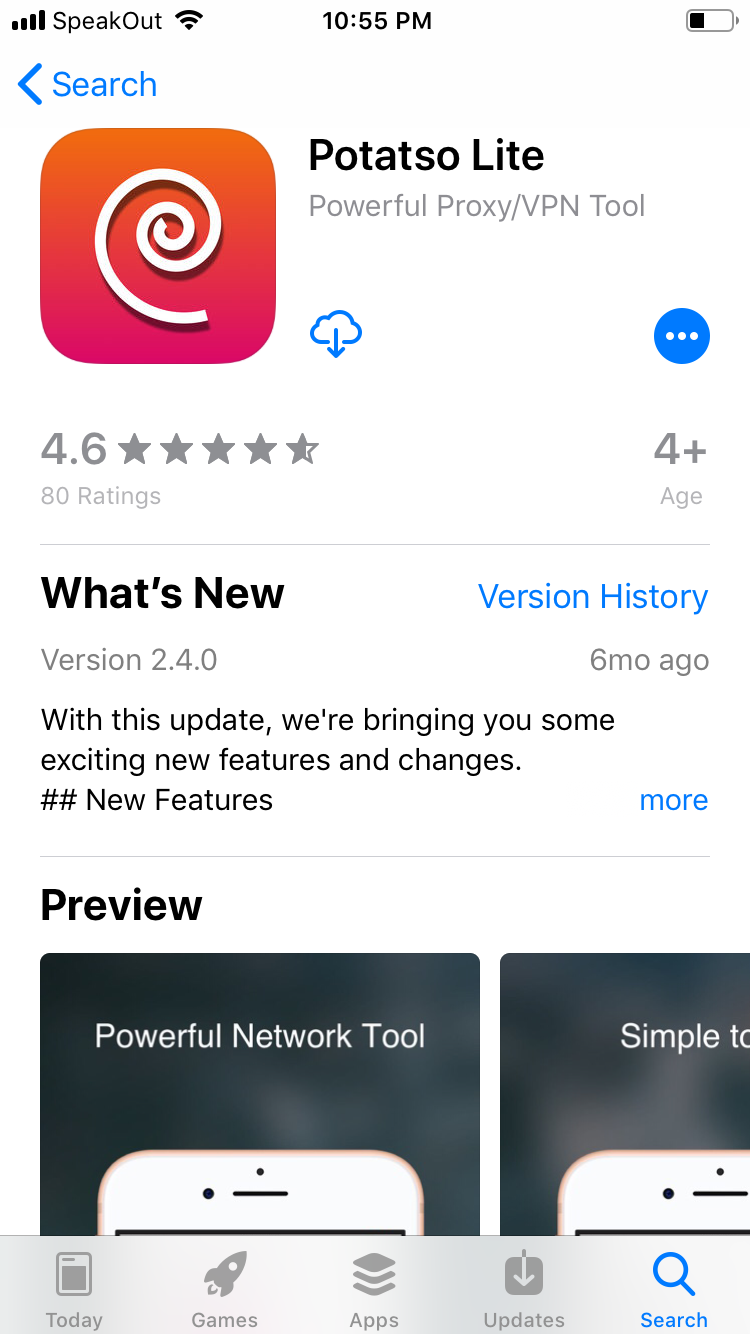
Download Jamjams for iPhone - The Official Just My Socks Client
Jamjams offers full compatibility with both Shadowsocks and v2ray protocols, eliminating the need for manual setup while delivering enhanced performance.
Setting up Potatso Lite on iPhone for Just My Socks
Before you proceed with the iPhone setup, you will need to access your service connection details (server address, port, password) from any device. These credentials are essential to configure Potatso Lite.
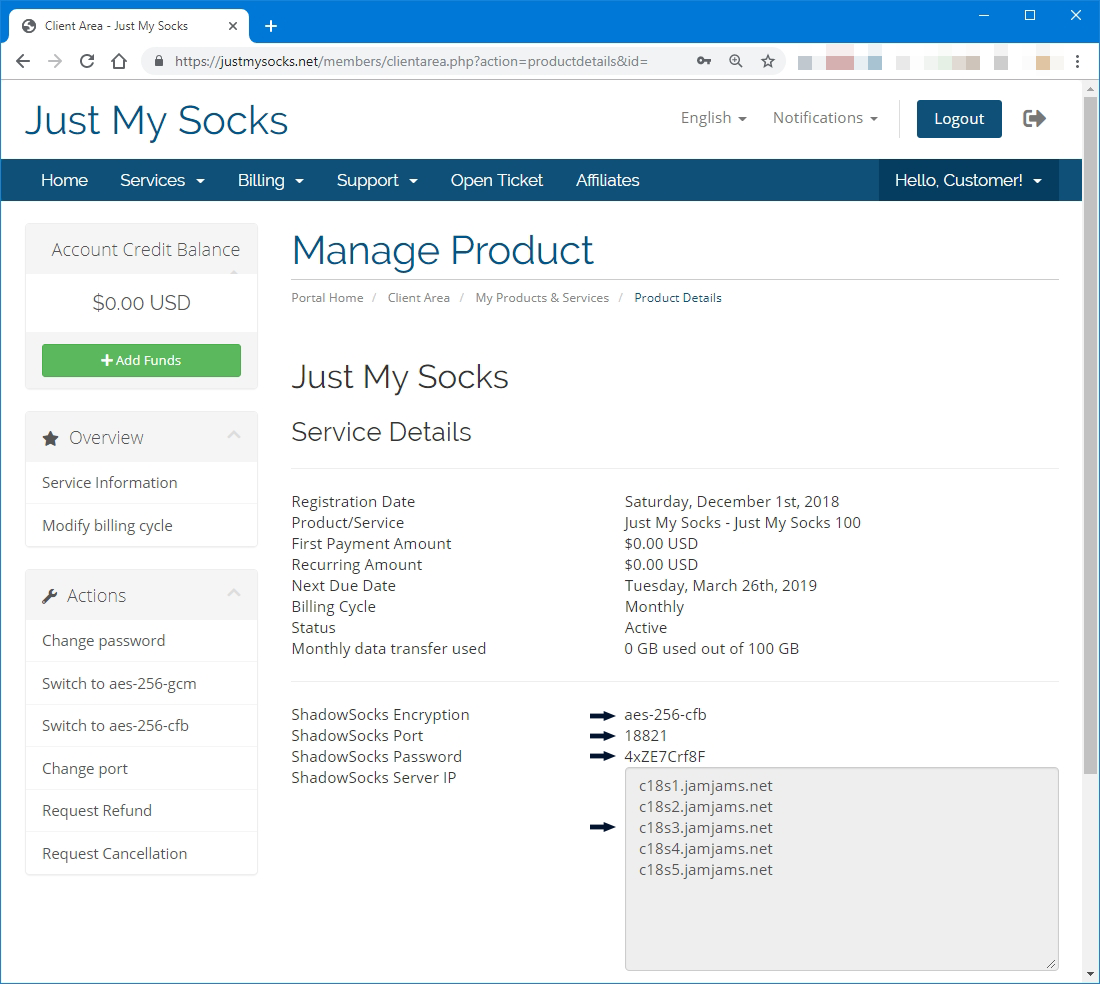
How to Access Your Just My Socks Service Details:
- Log into your Just My Socks account
- Navigate to Services → My Services to see your active subscriptions
- Select an active service to view the connection details page (shown below)
With your service details accessible, follow these steps to install and configure Potatso Lite on your iPhone:
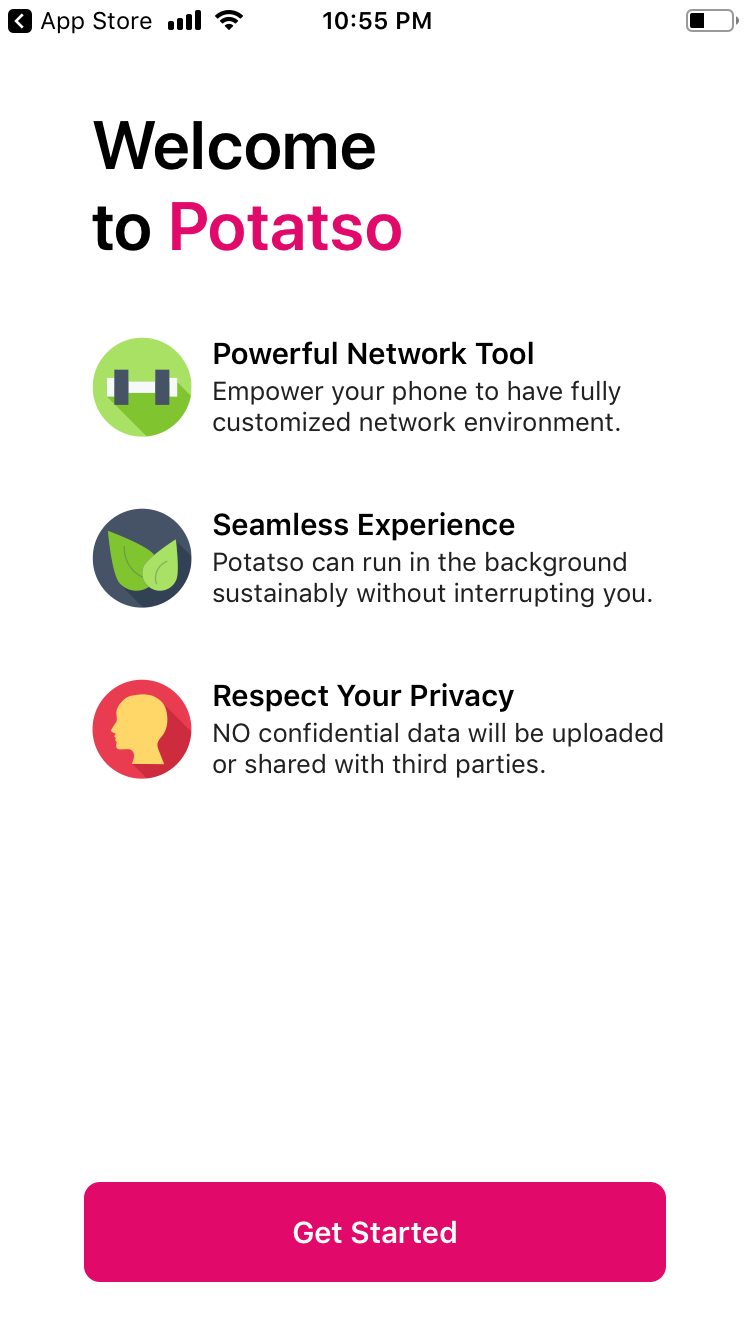
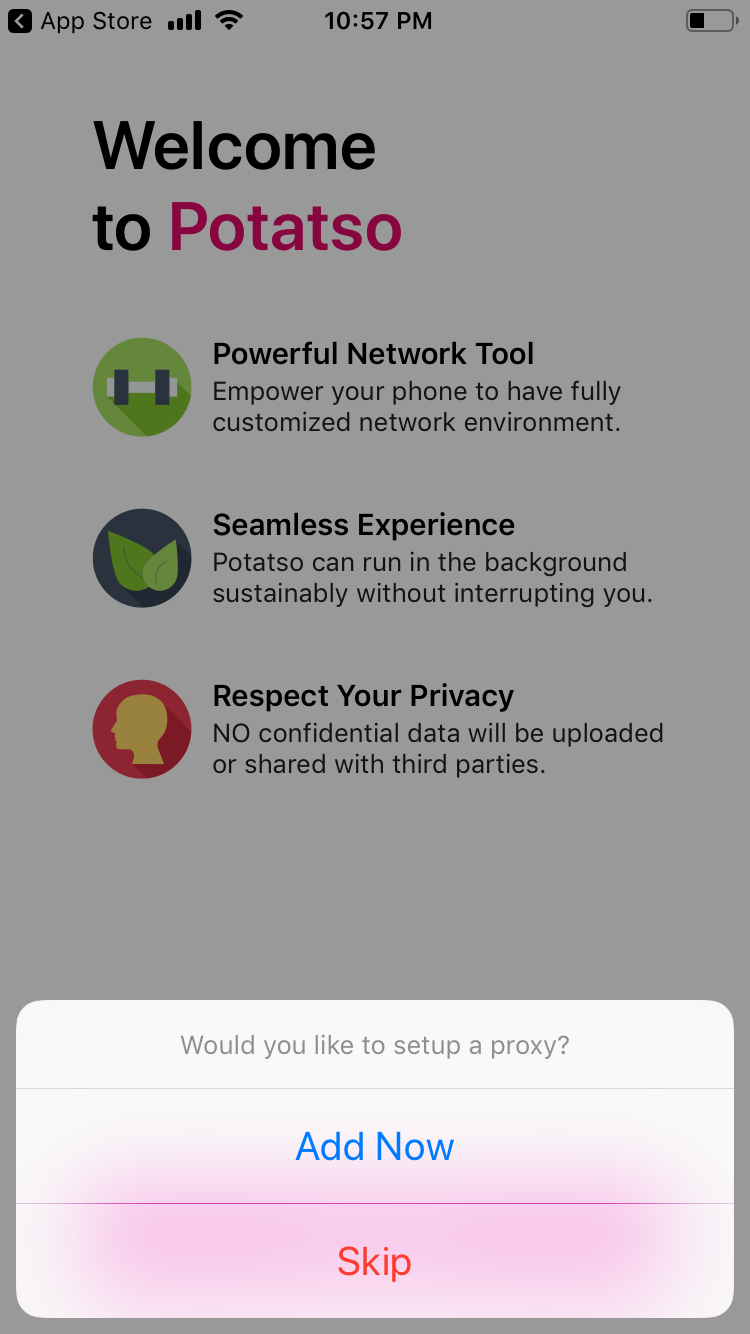
When prompted to set up a proxy connection, select 'Add Now':
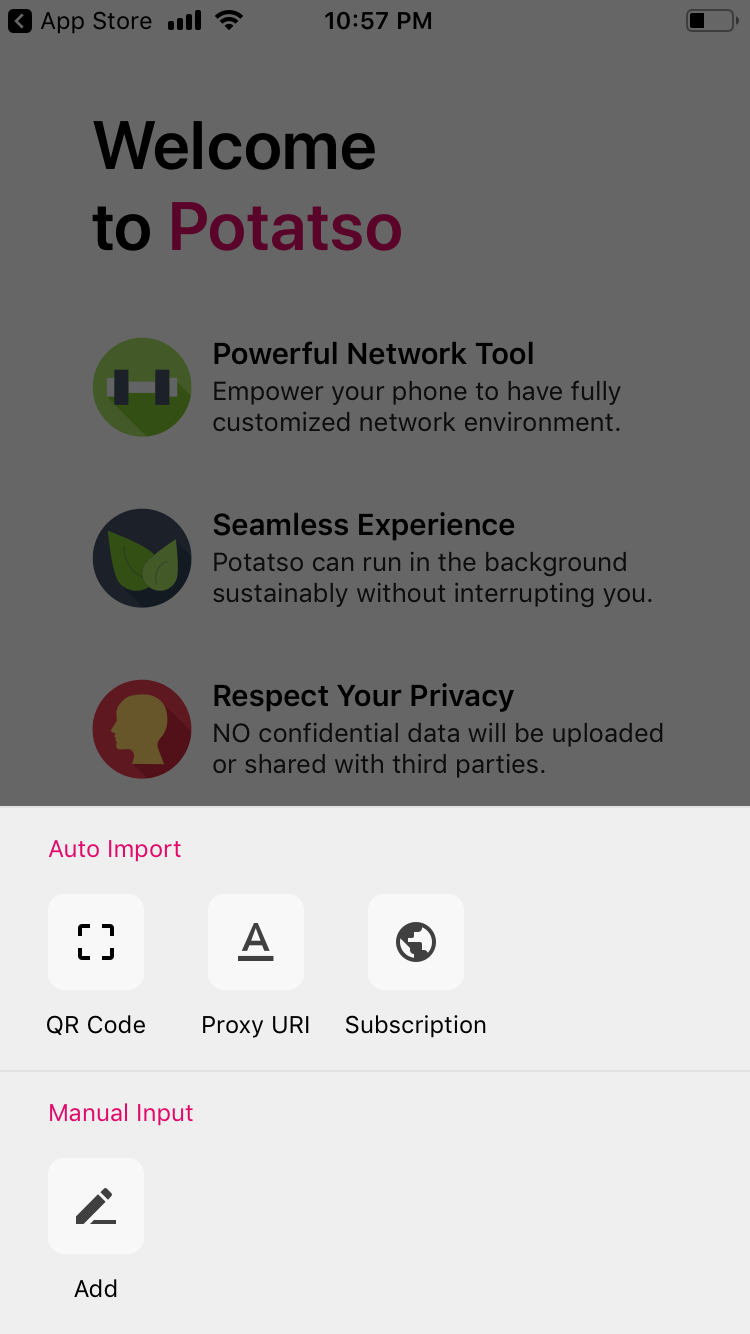
Next, tap the 'Add' button to create a new connection:
Enter the connection parameters from your Just My Socks service details page:
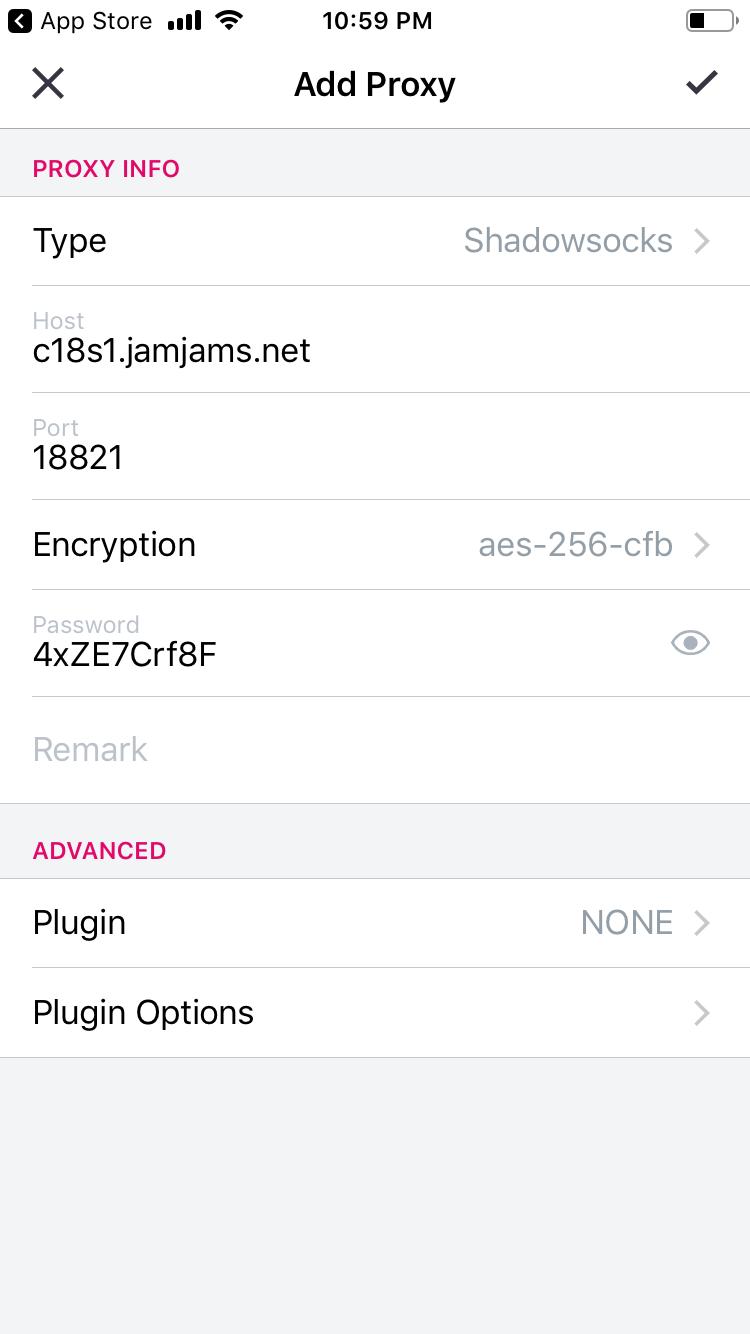
At this point, your basic setup is complete and ready for use.
Advanced Setup: OBFS Protocol Support
Many Just My Socks servers support the OBFS protocol, which provides enhanced security. However, to use these servers, you must enable the OBFS plugin in Potatso. Here's how:
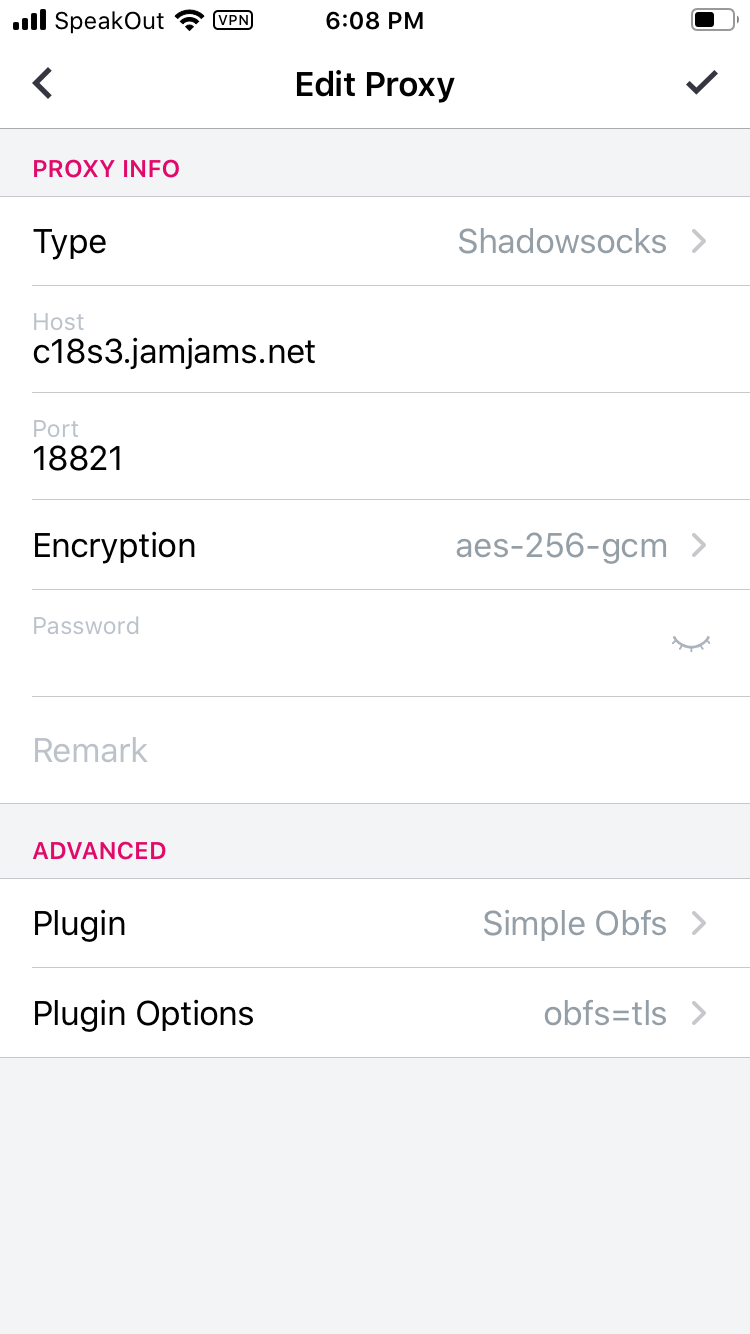
(Note how the Plugin and Plugin-Options fields have been configured in the example above)
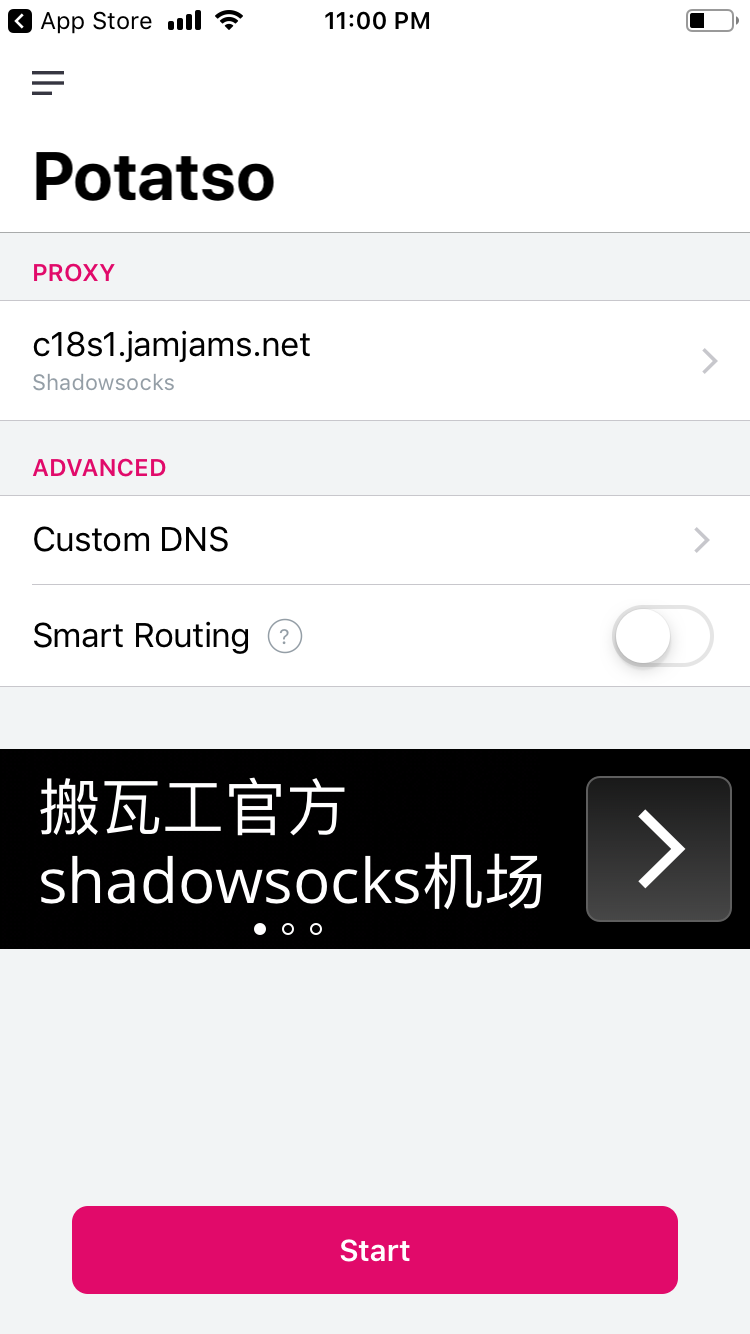
After completing your setup, you may consider enabling Smart Routing to optimize data usage. This feature routes Chinese websites directly without using the proxy, which reduces data consumption but may potentially lower security.
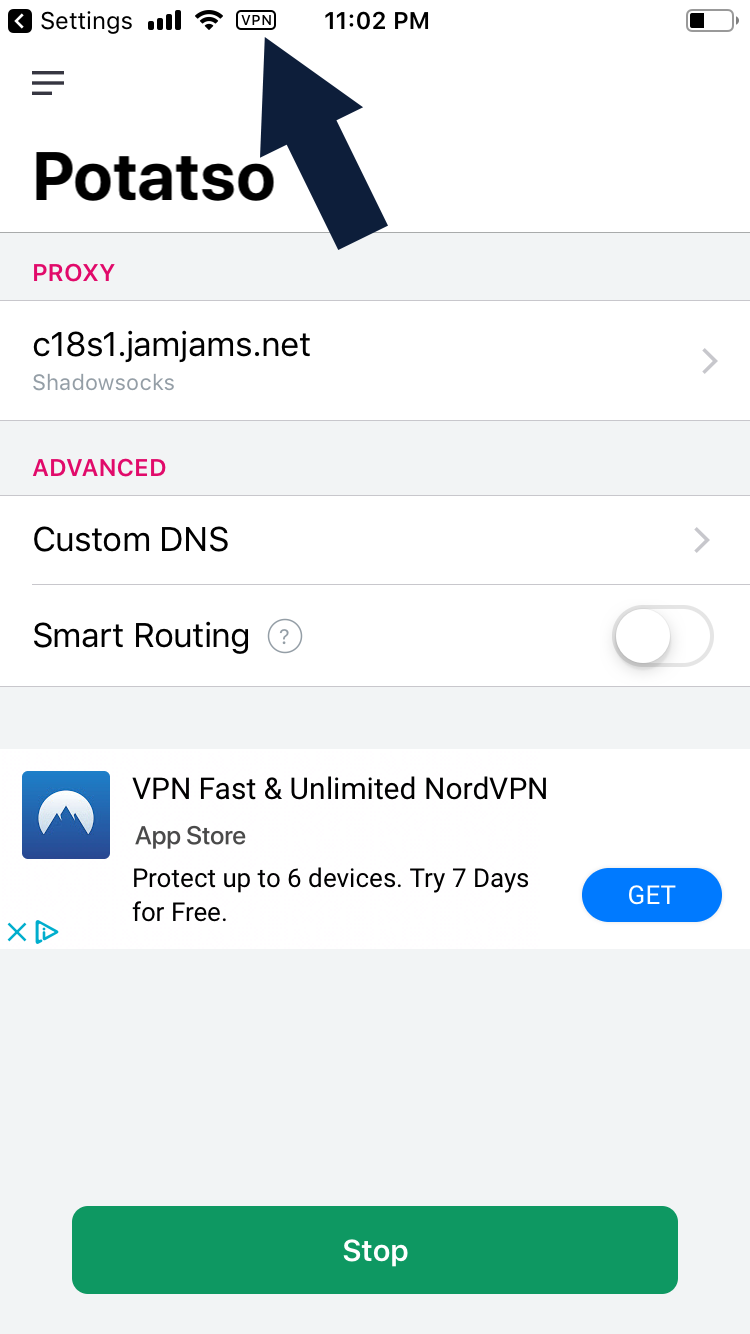
For this tutorial, we will continue without Smart Routing. Simply tap the 'Start' button to establish your connection:
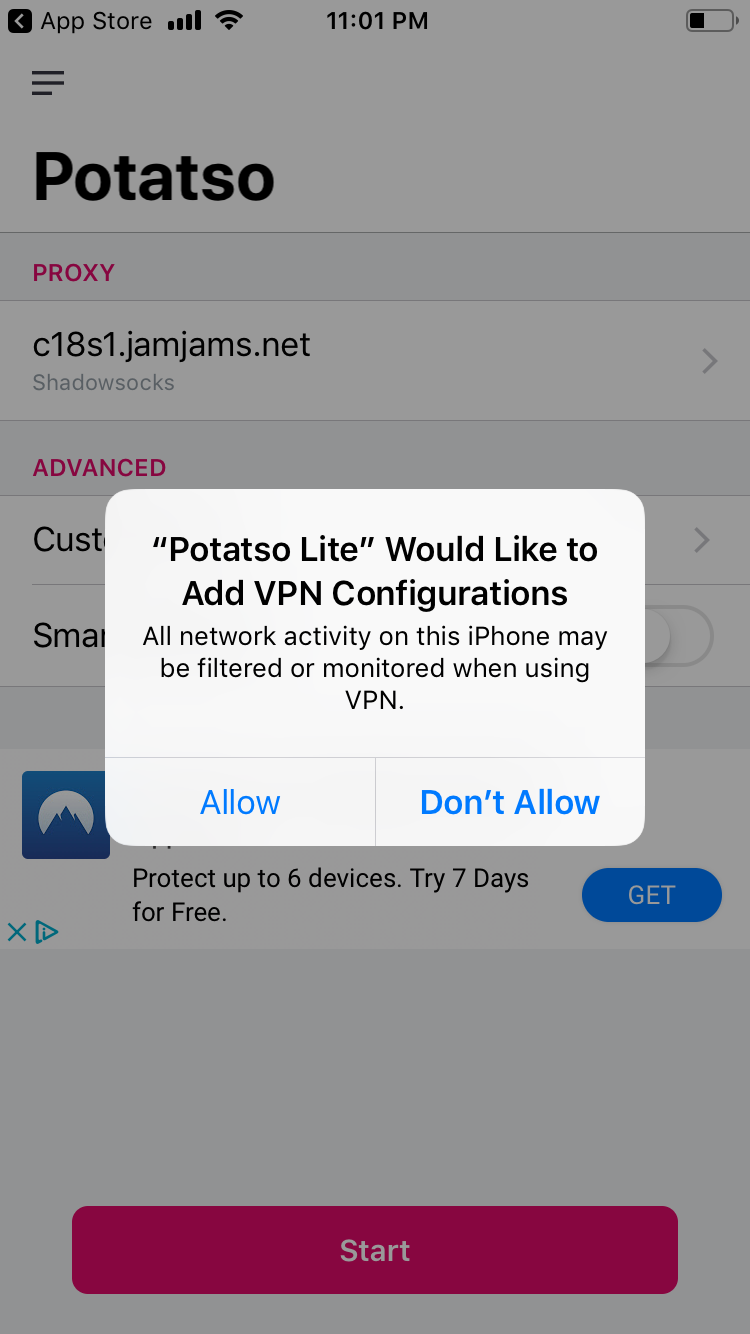
A system security prompt will appear requesting permission to enable the VPN configuration. Tap 'Allow' to proceed:
Congratulations! Your secure connection is now active and ready for use: