Windows PC Setup Guide: Configuring Just My Socks with V2ray & Shadowsocks
Mon Oct 02 2023
Windows PC Setup Guide: Configuring Just My Socks with V2ray & Shadowsocks
Jamjams: The Official Windows Client for Just My Socks
Important Update (October 2 2023): This guide has been superseded by the official Jamjams software, which offers simplified setup and enhanced stability.
Download Jamjams for Windows - The recommended solution for all Windows users.
Jamjams provides seamless support for both Shadowsocks and V2ray protocols with no manual configuration required.
V2rayN-Core Setup Guide for Windows [Supporting V2ray & Shadowsocks]
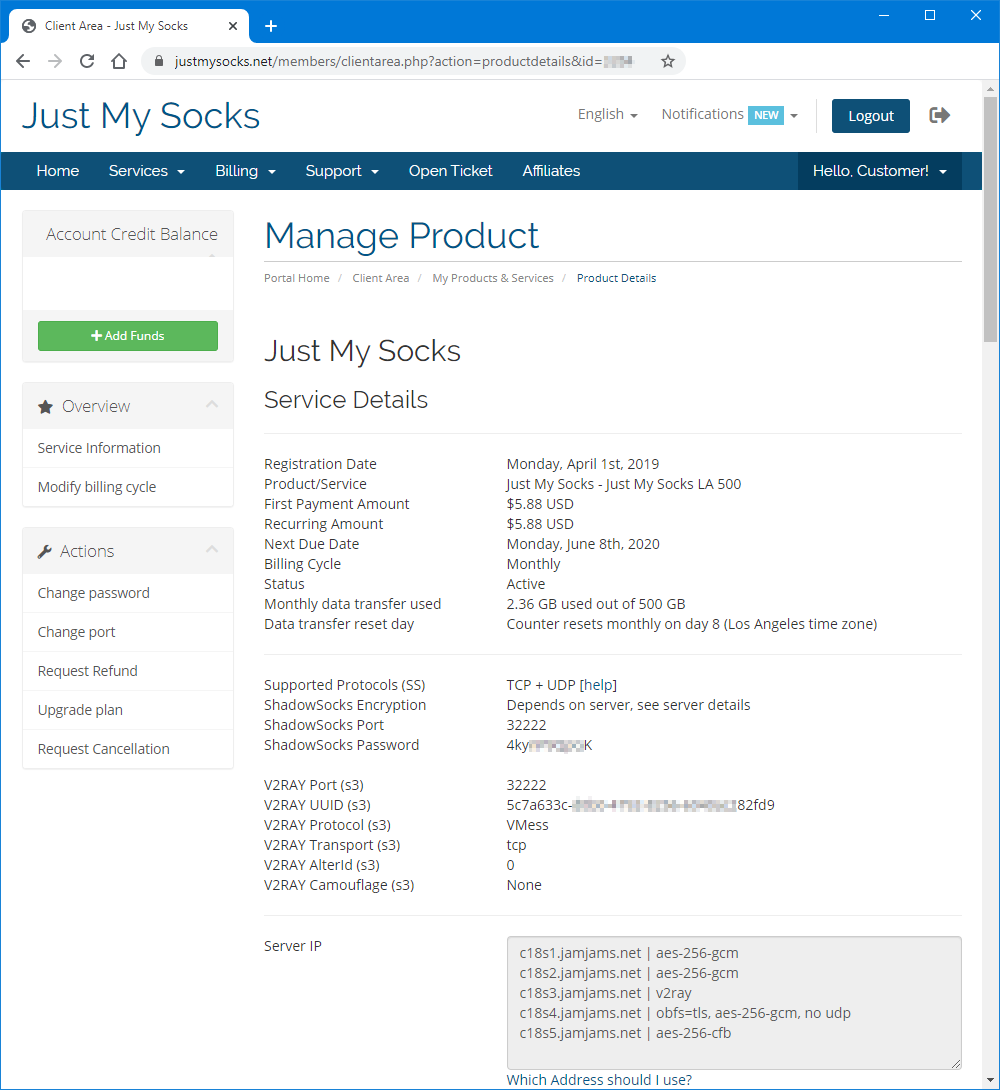
To begin, you will need to access your service connection details (server address, port, password) which are essential for configuring both V2ray and Shadowsocks.
Accessing Your Service Details:
1. Log in to your Just My Socks account
2. Navigate to Services → My Services to view your active subscriptions
3. Select any active service to view the detailed connection information as shown below:
Once you have accessed your connection details, download and install V2rayN-Core from the official page: Download V2rayN-Core
After downloading and extracting the files, launch the V2rayN.exe application:
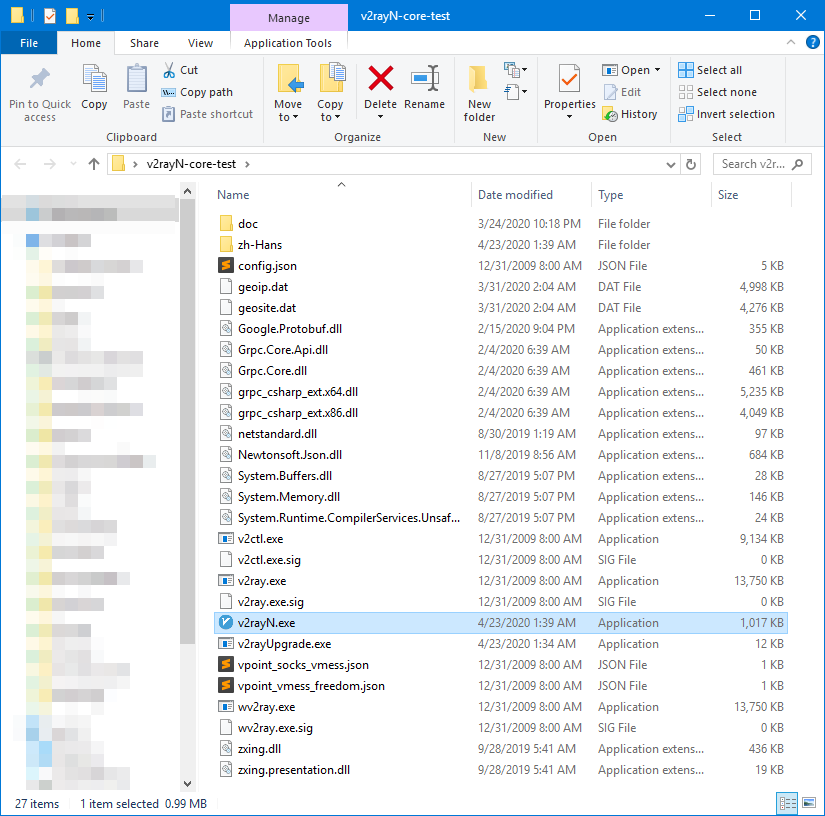
Troubleshooting Tip: If the application crashes immediately upon launch, you may need to update your .NET framework: Install .NET 4.8
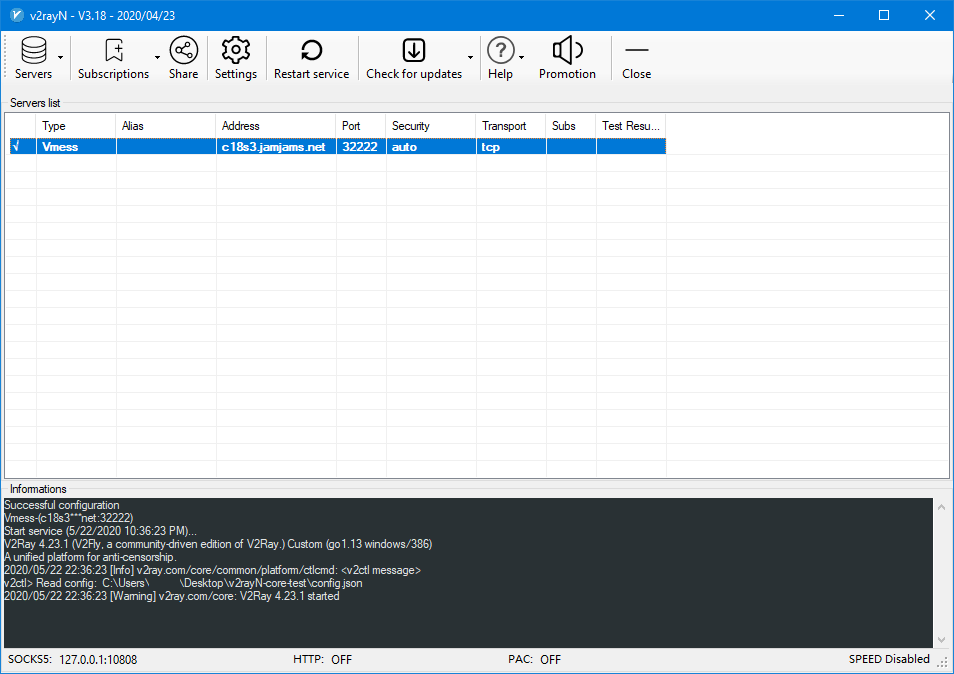
To access the main interface, double-click the V2rayN icon in your system tray:

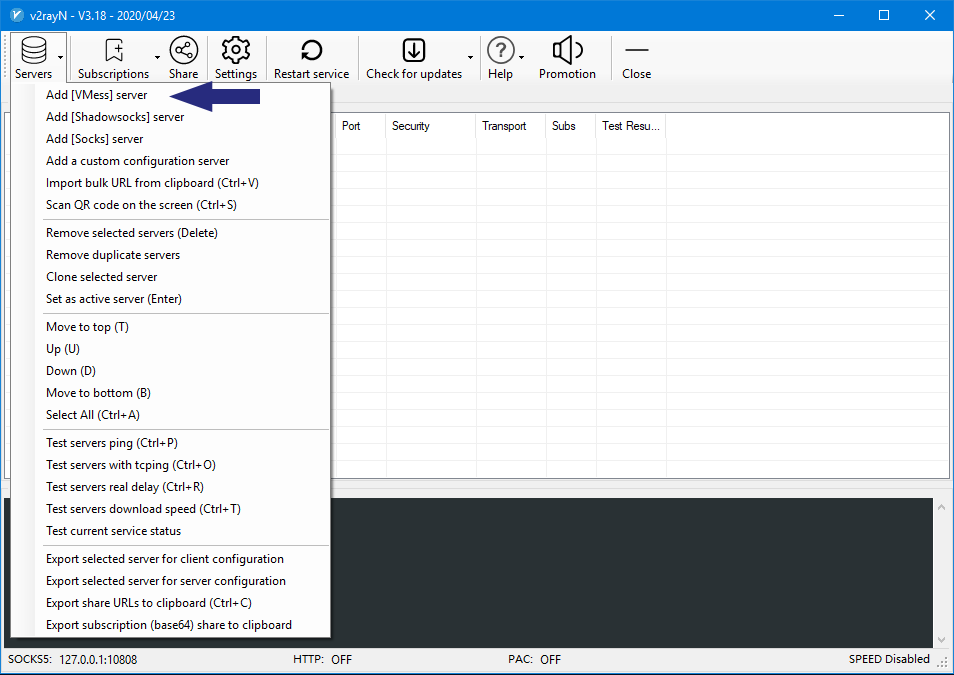
V2ray Protocol Setup Guide:
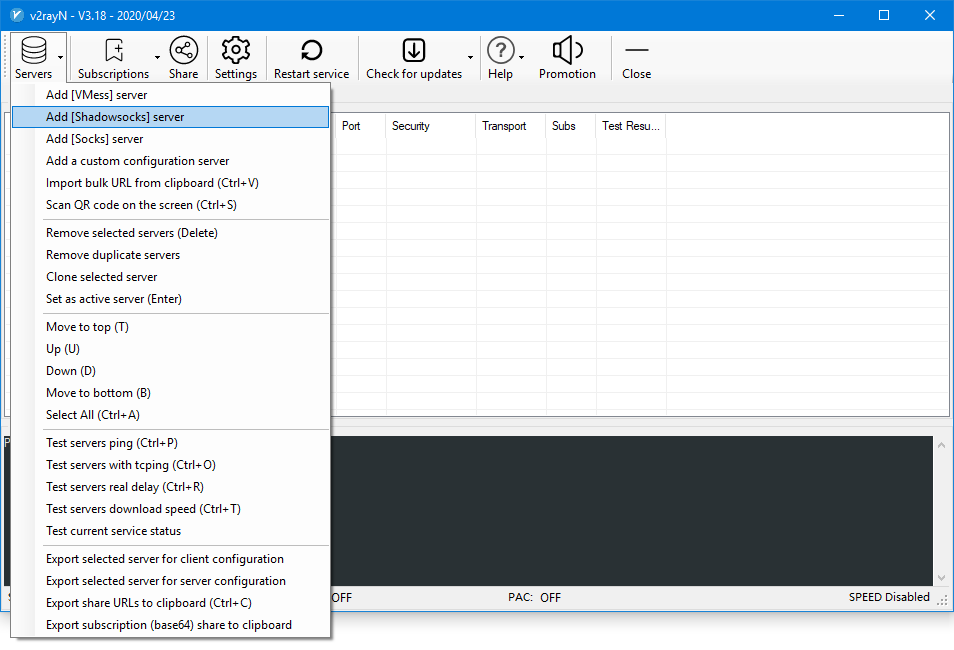
From the main window, navigate to Servers → Add [VMess] server:
Enter the connection parameters from your service details page:
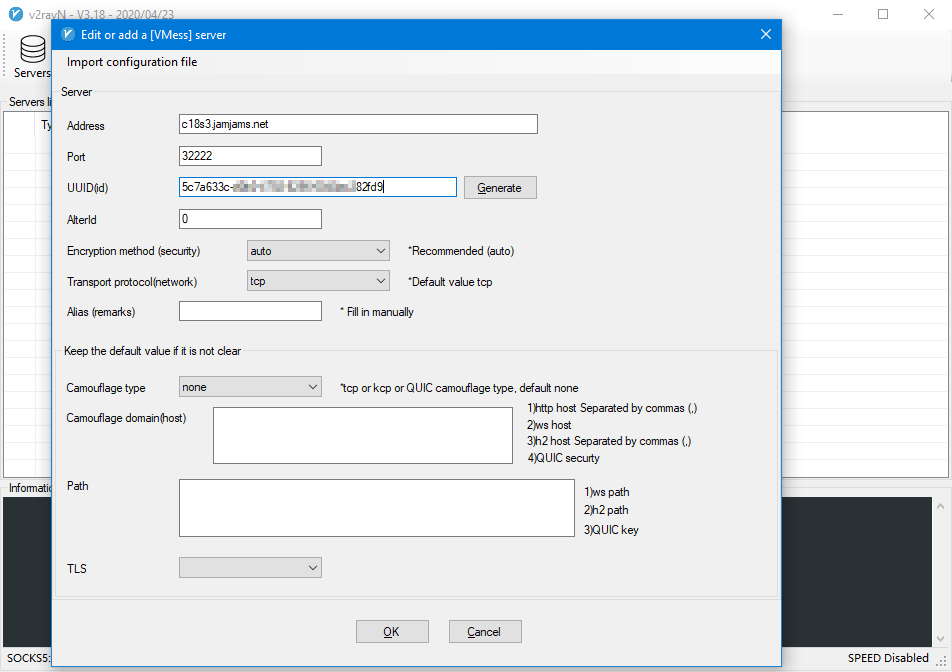
For TCP+TLS transport settings (if enabled on your control panel), ensure you enable tls and set allowInsecure to True.
Your V2ray setup is now complete and ready for use.
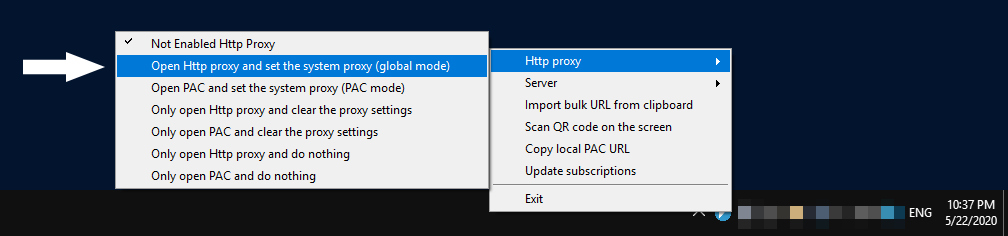
To activate your connection, right-click the tray icon, select Http proxy → Open Http proxy, and set the system proxy (global mode)
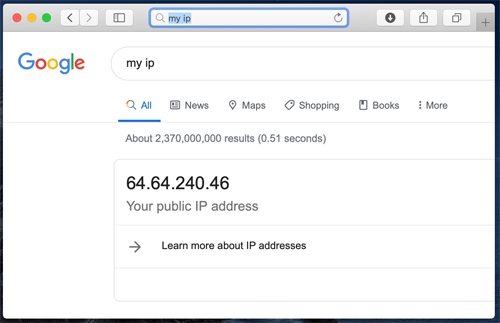
Success! You are now connected to Just My Socks:
Shadowsocks Protocol Setup Guide:
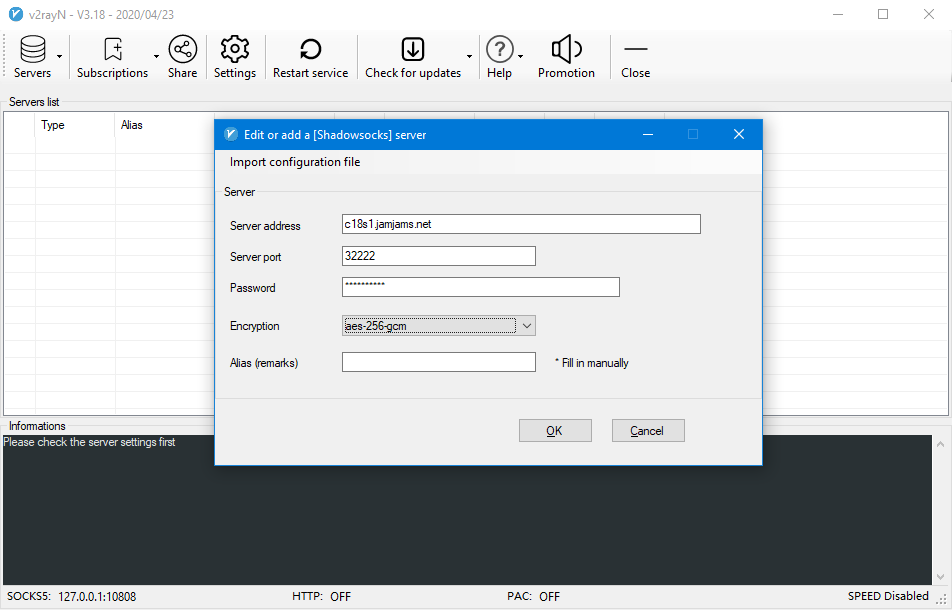
From the main window, navigate to Servers → Add [Shadowsocks] server:
Enter your Shadowsocks connection details from your service page:
Your Shadowsocks setup is now complete.
To activate your connection, right-click the tray icon, select Http proxy → Open Http proxy, and set the system proxy (global mode)
Success! You are now connected to Just My Socks via Shadowsocks: