How to use Just My Socks on a Mac [shadowsocks]
Jamjams software for Mac - Official Client
As of October 2, 2023, this page is obsolete. We strongly recommend using the official Jamjams software for simplified configuration and enhanced stability.
Download Jamjams for Mac - The official client that fully supports both Shadowsocks and v2ray protocols without requiring any manual configuration.
Setting up Shadowsocks with OBFS on Mac OSX
To begin, you'll need to access your service connection details (server address, port, password) which are essential for configuring Shadowsocks properly.
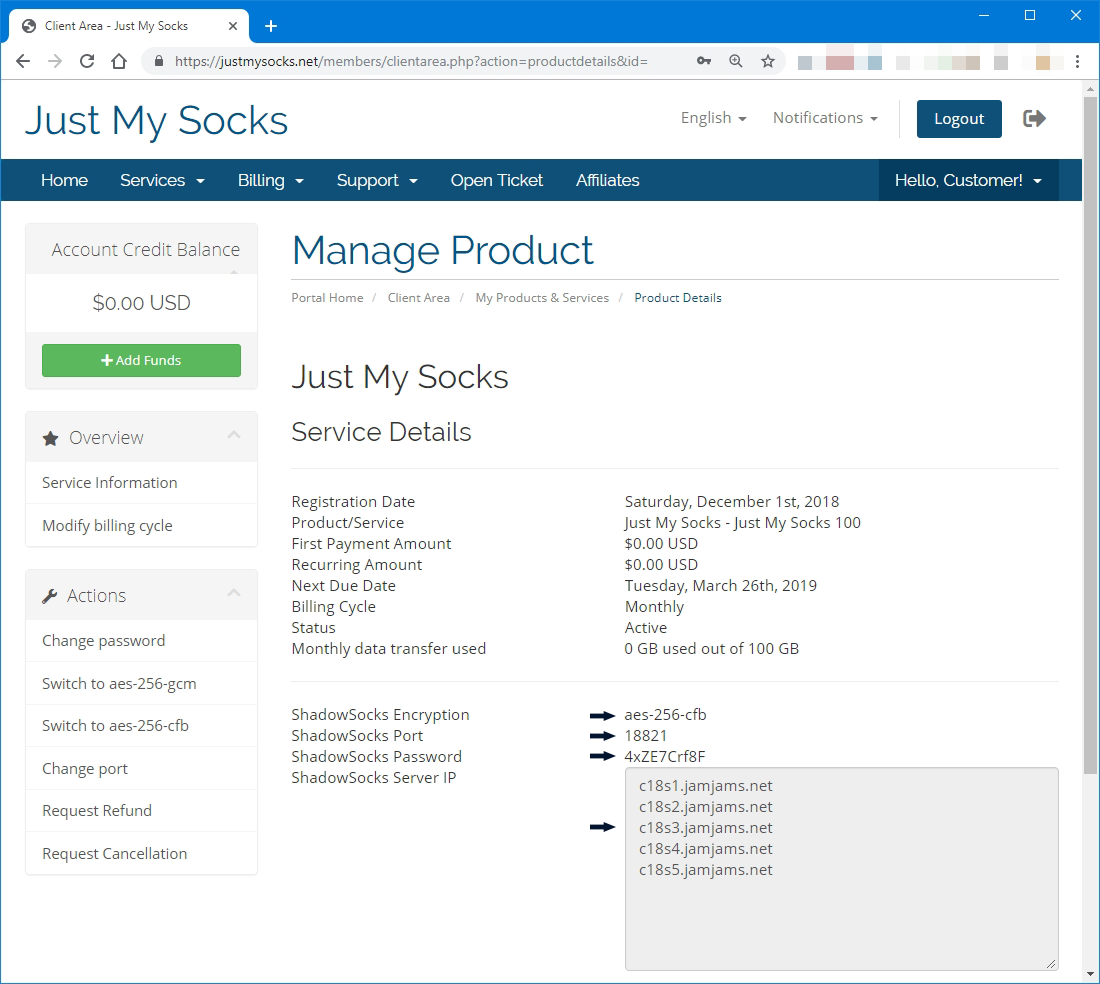
Step 1: View Your Service Details
- Login to your Just My Socks account through the official website
- Navigate to Services → My Services where you'll find a complete list of services in your account
- Click on any active service to view detailed service information similar to this example:
Step 2: Install ShadowsocksX-NG Client
Once you have your service details page open, download and install shadowsocksx-ng from the official page: ShadowsocksX-NG Download Link
Step 3: Configure ShadowsocksX-NG
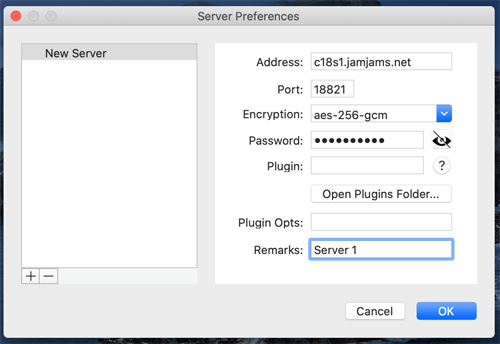
After installation, open ShadowsocksX-NG. Click on the Shadowsocks icon in your menu bar and navigate to Servers → Server Preferences:

Enter the connection details exactly as shown on your service page:
Step 4: Configure OBFS Protocol (Important)
Note: Many of the premium servers support OBFS protocol. These servers provide enhanced security and performance, but they require that you enable the OBFS plugin on your client. Here's the correct configuration:

(In this example, you need to populate both the Plugin and Plugin Opts fields as shown)
No additional changes are necessary after this step.
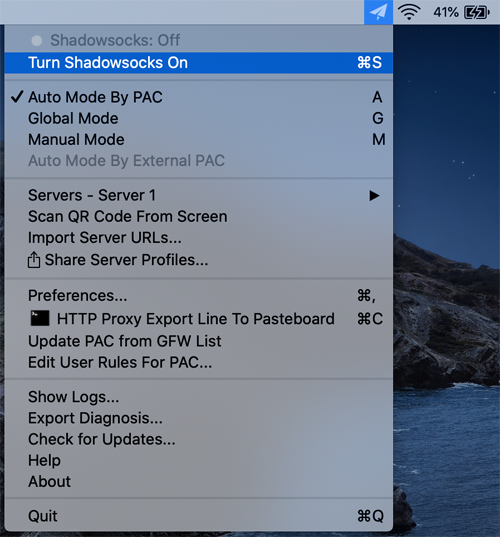
Step 5: Activate Shadowsocks
First, switch Shadowsocks to Global mode for comprehensive coverage:
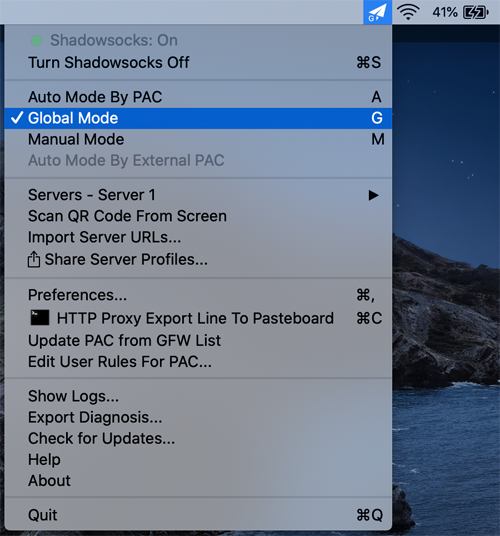
Then enable Shadowsocks by selecting "Turn Shadowsocks On":
Step 6: Verification
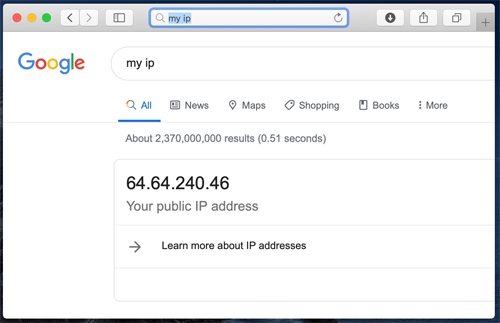
Congratulations! Your secure connection is now active and operational: